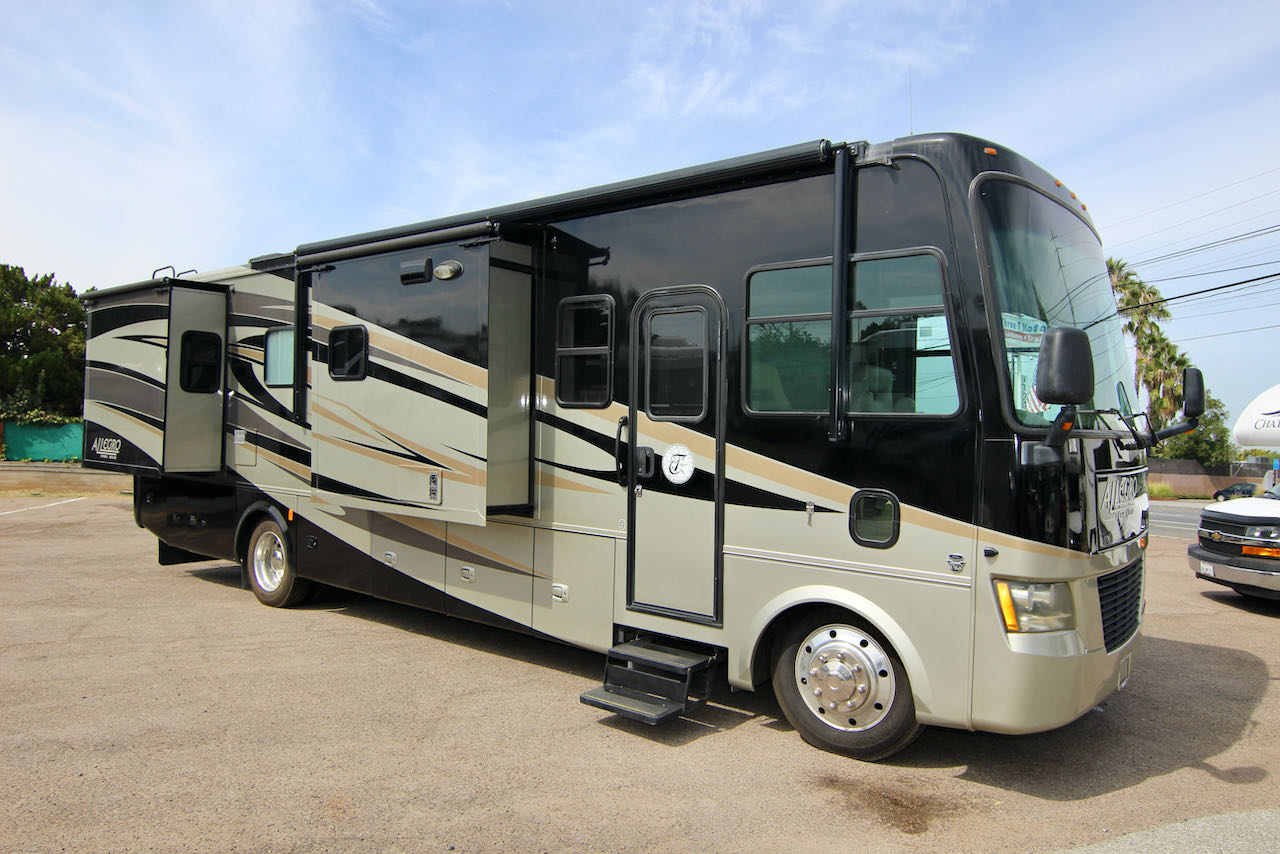
How to Handle RV Furnace and A/C Failures: A Step-by-Step Guide
Owning an RV means enjoying the freedom of the open road, but it also comes with its share of maintenance responsibilities. One of the most frustrating experiences for any RV owner is dealing with a failing furnace or air conditioning unit—especially during extreme temperatures. Whether you’re camping in the heat of summer or trying to stay warm during a chilly night, HVAC system failures can seriously disrupt your trip. In this guide, we’ll break down how to handle RV furnace and A/C failures efficiently, so you can get back to comfort as soon as possible.
Common Causes of RV Furnace and A/C Failures
Before diving into repair steps, it’s important to understand what typically causes these failures:
RV Furnace Issues:
- Faulty Thermostat: If the thermostat isn’t functioning, your furnace won’t turn on.
- Blown Fuses: Electrical issues often prevent the furnace from igniting.
- Propane Supply Problems: A lack of propane or a blocked line can cause the furnace to fail.
- Dirty Burners: Accumulated dust or debris can block airflow or disrupt ignition.
RV A/C Unit Failures:
- Clogged Filters: Dirty air filters reduce efficiency and cooling power.
- Low Refrigerant Levels: A common issue that usually requires professional RV A/C repair.
- Compressor Failure: The compressor is the heart of your A/C. If it goes bad, cooling stops completely.
- Electrical Malfunctions: Loose wires or broken connections can shut down the unit entirely.
Step-by-Step Guide for Handling RV Furnace Failures
- Check the Thermostat Settings
Start by verifying that your thermostat is set to “Heat” and that the temperature is set above the current room temperature. - Inspect the Propane System
Make sure your propane tanks are full and the valve is open. Check for any leaks or kinks in the line. - Examine the Furnace Fuses
Locate the fuse panel and check if any fuses related to the furnace have blown. Replace them if necessary. - Clean Air Vents and Burners
Dust and debris buildup can prevent the furnace from operating efficiently. Use a vacuum or air compressor to clean the burners and intake vents. - Listen for Ignition Sounds
If you hear clicking but the furnace doesn’t ignite, it could be a faulty igniter or a gas flow problem. If you’re unsure, consult a professional.
What to Do When Your RV A/C Fails
If your RV air conditioner isn’t working, follow these troubleshooting steps before calling for RV A/C repair:
- Check Power Supply
Make sure your RV is properly connected to shore power or that your generator is working. Reset any tripped breakers. - Inspect the Thermostat
Similar to the furnace, make sure it’s set to “Cool” and at the appropriate temperature. - Clean or Replace Air Filters
A dirty air filter is a common cause of reduced cooling. Replace the filter and see if performance improves. - Look for Ice Buildup
Ice on the coils can block airflow. Turn off the A/C for a few hours and allow the ice to melt, then try again. - Listen for Strange Noises
Grinding or clicking sounds can indicate a failing compressor or fan motor. This will likely require RV air conditioner repair by a professional.
When to Call for Professional Help
While some minor issues can be fixed with a bit of DIY effort, more complex problems like refrigerant leaks, compressor failure, or gas line issues should always be handled by professionals.
If you’re stuck on the road and need fast help, search for RV A/C unit repair services nearby or contact a certified RV technician. Many RV A/C repair companies offer mobile services, so you won’t even need to tow your RV to a repair center.
Preventive Tips to Avoid HVAC Failures
- Schedule Regular Maintenance
Have your furnace and A/C system inspected at least once a year to catch small problems before they become big ones. - Keep Vents and Filters Clean
Dirty filters can shorten the lifespan of your HVAC units. Check and clean them every month during peak usage. - Monitor Propane Levels
Always start your trip with full propane tanks and inspect for leaks regularly. - Install a Surge Protector
Power surges can damage your RV’s electrical components, including the A/C and furnace. A surge protector can help avoid costly RV A/C unit repair bills.
Final Thoughts
Dealing with HVAC issues in your RV isn’t fun, but understanding the basics of furnace and RV air conditioner repair can save you time, money, and stress. Always start with simple troubleshooting steps, and don’t hesitate to call for help when the problem goes beyond your expertise. Staying proactive with maintenance is the best way to ensure your RV remains a comfortable haven—no matter the weather.
Whether it’s a full system failure or just a minor glitch, being prepared can make all the difference. Keep this guide handy on your next trip, and you’ll be better equipped to handle any furnace or RV A/C repair issues that come your way.





Post Comment