
Table tennis enthusiasts know that the right paddle can elevate your game. While store-bought options abound, crafting your own ping pong paddle offers unmatched customization, cost savings, and a deeper understanding of equipment mechanics. Whether you’re a hobbyist or a competitive player, this guide will walk you through how to make a ping pong paddle tailored to your playstyle. Let’s dive into materials, tools, and assembly techniques to create your perfect racket.
Why Make Your Own Ping Pong Paddle?
Commercial paddles often prioritize mass production over individual needs. By building your own, you control:
-
Blade composition (wood type, thickness, and weight)
-
Rubber grip and sponge thickness (spin, speed, or control focus)
-
Handle design (comfort and ergonomics)
-
Aesthetic personalization (colors, logos, or textures)
Plus, DIY projects can be cost-effective, especially if you repurpose materials.
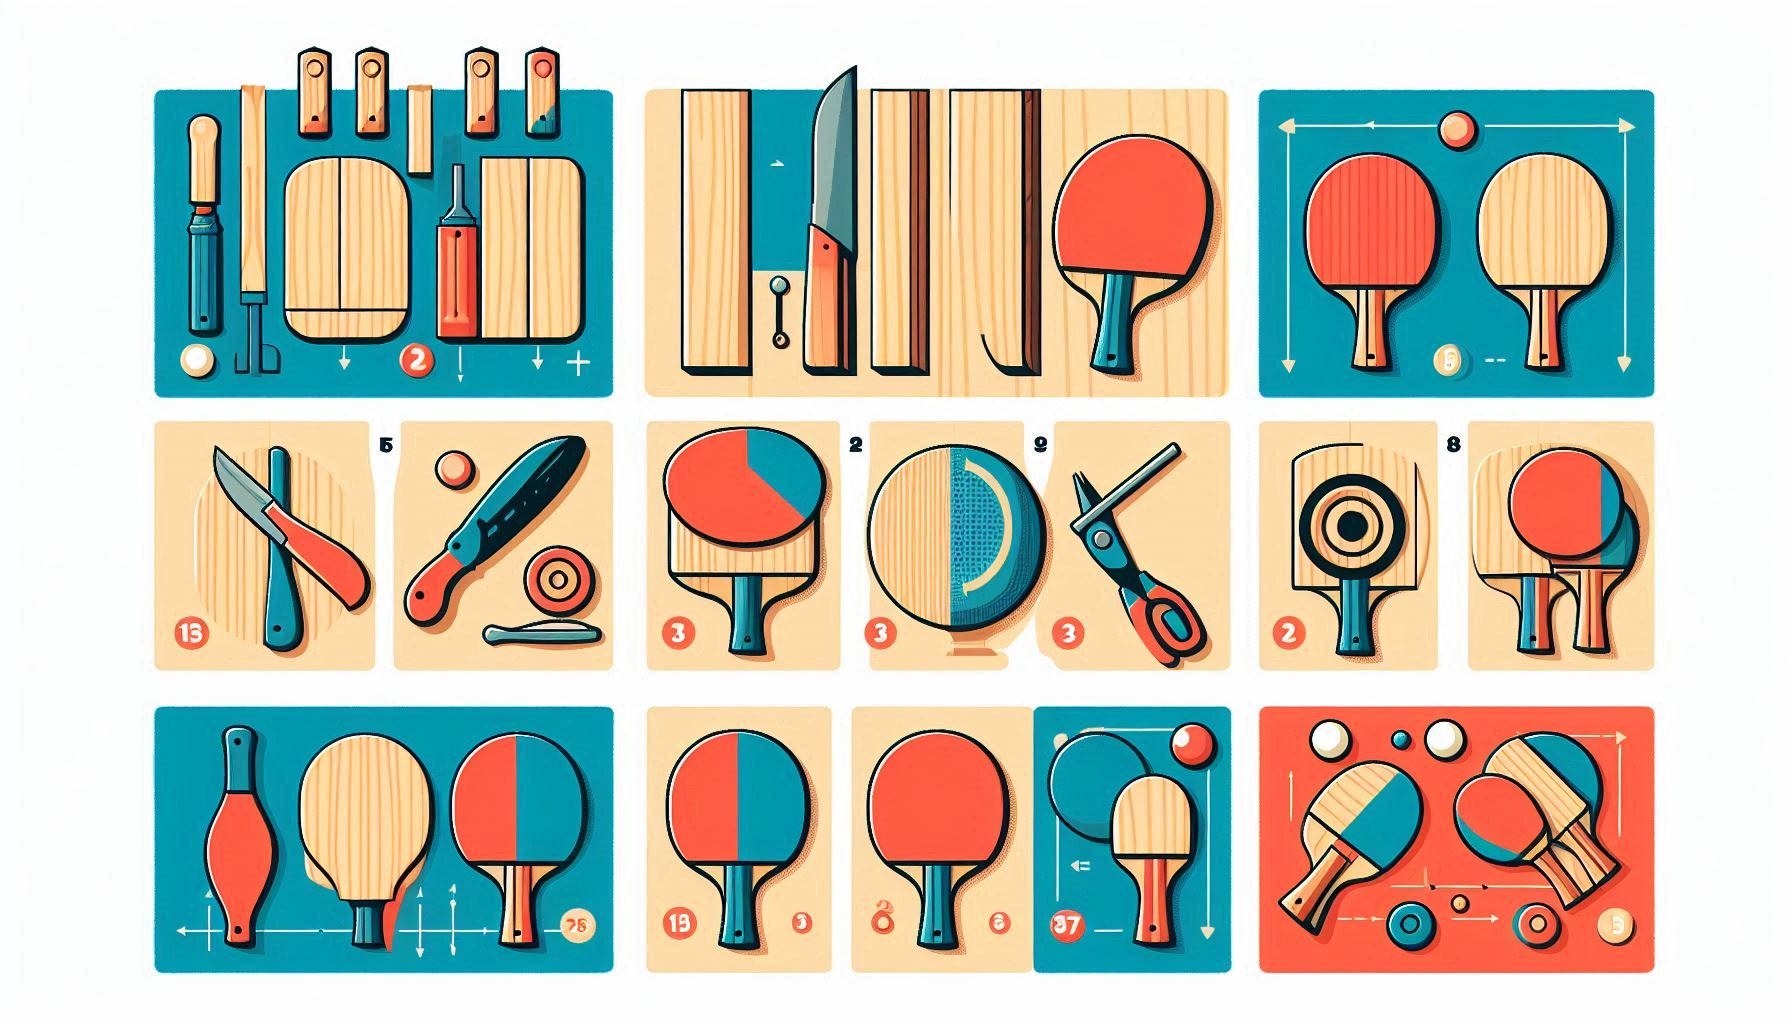
Materials Needed to Make a Ping Pong Paddle
Gather these essentials before starting:
-
Blade Material:
-
Wood Types: Balsa (lightweight), Cypress (balanced), or Inoki (stiff for power). Use 5–7 plies (layers) for durability.
-
Pre-cut Blade: Optional for beginners.
-
-
Rubber Sheets: Choose pimpled (smooth for spin) or inverted (textured for control). Ensure ITTF-approved rubber if competing.
-
Sponge Layer: Thickness (1.5–2.0mm for control; 2.0mm+ for speed).
-
Adhesive: Water-based glue (ITTF-compliant) or rubber cement.
-
Handle Material: Wooden dowel, cork, or pre-made handle.
-
Finishing Supplies: Sandpaper (80–200 grit), varnish, or sealant.
Tools Required
-
Utility knife or scissors
-
Ruler and pencil
-
Clamps or heavy books
-
Paintbrush (for glue)
-
Safety gear (gloves, goggles)
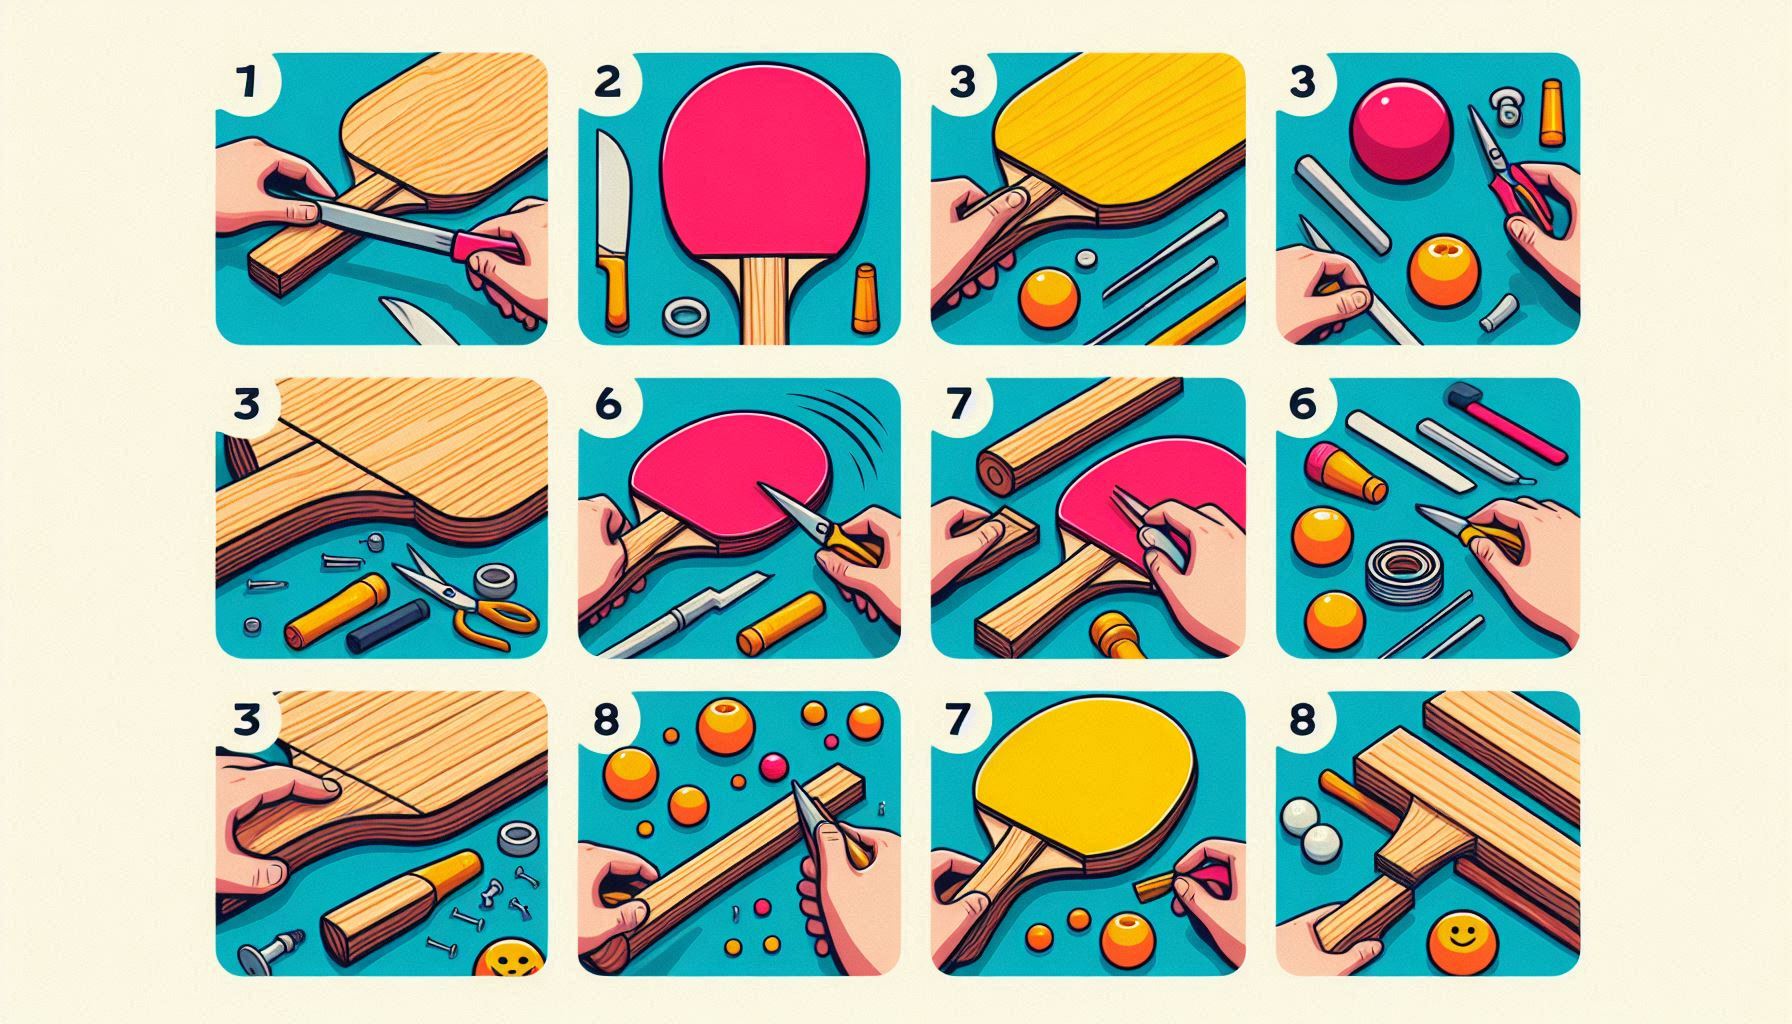
Step-by-Step Guide: How to Make a Ping Pong Paddle
1. Design the Blade
-
Size: Standard blades are 6–7 inches wide and 10 inches long. Trace the shape on your wood.
-
Layering: For multi-ply blades, glue layers crosswise (e.g., horizontal and vertical grains) for stability. Clamp and dry for 24 hours.
-
Tip: Sand edges to a rounded shape for aerodynamics.

2. Craft the Handle
-
Shape: Flared (conical), straight, or anatomic (contoured). Carve from a dowel or attach a pre-made handle.
-
Attachment: Secure with wood glue, then clamp until set.
3. Prepare Rubber and Sponge
-
Measure: Cut rubber and sponge 1–2cm larger than the blade to allow trimming.
-
Glue Sponge: Apply adhesive to the sponge, wait until tacky, then press onto the rubber. Repeat for both sides.
4. Attach Rubber to Blade
-
Apply Glue: Coat the blade’s surface and back of the sponge. Let dry until slightly sticky.
-
Align Carefully: Press rubber-sponge layers onto the blade, smoothing outward to avoid air bubbles.
5. Trim Excess Material
-
Use a utility knife to cut rubber along the blade’s edges. Sand lightly for a seamless finish.
6. Final Touches
-
Seal the blade with varnish to protect against moisture.
-
Personalize with paint or decals (avoid adding weight).
Customization Tips for Enhanced Performance
-
Blade Weight: Add carbon fiber layers for stiffness or lightweight balsa for defensive play.
-
Rubber Choices:
-
Inverted (Smooth): Maximizes spin.
-
Short Pimples: Improves speed.
-
Long Pimples: Creates unpredictable returns.
-
-
Handle Comfort: Wrap with athletic tape or cork for better grip.
Pro Tip: Test different combinations in practice sessions to find your ideal setup.
Maintenance and Care
-
Clean Rubber: Use a specialized cleaner or water to remove dust after games.
-
Store Properly: Keep in a ventilated case away from heat.
-
Re-Glue: Replace rubber every 3–6 months if worn.
ITTF Regulations for Competitive Play
If using your paddle in tournaments, ensure:
-
The blade is 85% natural wood (carbon/glass layers allowed minimally).
-
Rubber is ITTF-approved (check their website for lists).
-
Total thickness (blade + rubber + sponge) doesn’t exceed 4mm.
Conclusion
Learning how to make a ping pong paddle empowers you to tailor equipment to your strengths, whether you crave spin-heavy attacks or defensive precision. With this guide, you’ve mastered selecting materials, assembling layers, and customizing for peak performance. Now, grab your DIY paddle, hit the table, and watch your game transform!


Leave a Reply