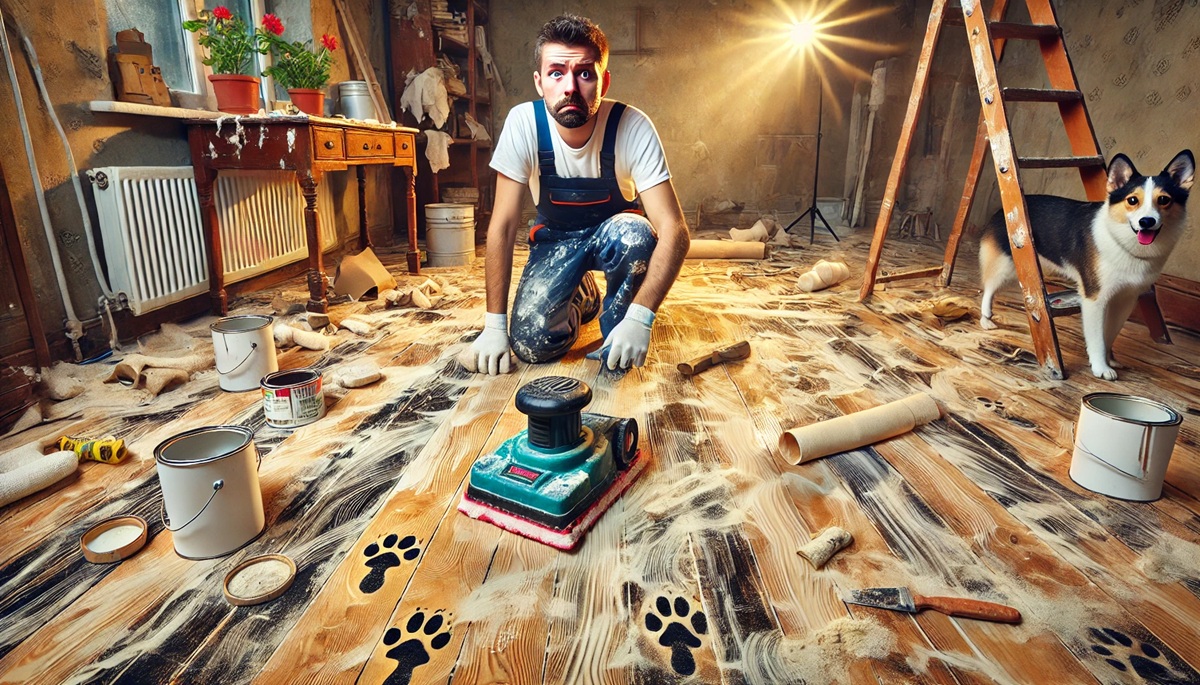
Avoid Costly Mistakes Tips For Successful Floor Refinishing
Refinishing your floors can seem like a rewarding DIY project, but it requires precision, patience, and the right materials. Homeowners often make mistakes that harm their floors. These mistakes can lead to expensive repairs. If you want to refinish your floors, knowing these common issues can save you trouble. For a nice finish and long-lasting results, try professional floor polishing ME or floor maintenance services. They offer expert help.
The Most Common DIY Floor Refinishing Mistakes
1. Skipping Proper Preparation
Preparation is key to a smooth and even finish. Many DIYers fail to:
- Clean the floor thoroughly before sanding.
- Remove furniture, rugs, and baseboards properly.
- Ensure the space is free of dust and debris.
- Fill in any cracks or gaps to create an even surface.
Skipping these steps can cause flaws, uneven stains, and a finish that appears unprofessional. If you’re not sure, think about hiring floor maintenance services. They can prepare your floors well, which helps ensure a successful refinishing job.
2. Using The Wrong Sandpaper Grit
Choosing the correct sandpaper grit is crucial. Mistakes include:
- Using grit that is too coarse, leading to deep scratches that are difficult to remove.
- Skipping grits in the sanding process, which results in an uneven surface that won’t take stain properly.
- Not sanding enough or over-sanding, both of which can damage the wood and reduce its durability.
Using the right sandpaper grit helps create a smooth surface. This ensures the stain absorbs evenly and looks professional.
3. Not Removing All Dust After Sanding
Dust left behind after sanding can create a rough and bumpy finish. Be sure to:
- Vacuum thoroughly, including the edges and corners.
- Use a tack cloth or damp rag to pick up any remaining dust.
- Let dust settle and clean again before applying stain or finish.
- Cover vents and doorways to prevent dust from resettling on the floor.
A dust-free surface is essential for achieving a flawless finish. Any lingering particles can get trapped in the sealant, leading to a gritty texture.
4. Applying Stain Unevenly
Uneven stain application is a common mistake that results in blotchy floors. To prevent this:
- Use a pre-stain wood conditioner for certain wood types, like pine or maple.
- Apply stain with consistent strokes in the direction of the grain.
- Wipe off excess stain to prevent puddles and dark spots.
- Work in small sections to ensure even application and blending.
Testing the stain on a small area before applying it to the whole floor can help ensure an even, professional look.
5. Not Allowing Proper Drying Time
Many DIYers rush the drying process, leading to sticky or streaky floors. Follow these tips:
- Check the manufacturer’s recommended drying times for stain and finish.
- Allow adequate ventilation to speed up drying without causing dust buildup.
- Avoid walking on the floor too soon, as it can leave permanent marks.
- Wait at least 24 hours before applying a topcoat to ensure the stain has fully absorbed.
Skipping drying time can result in a finish that never fully hardens, making it more susceptible to scratches and damage.
6. Choosing The Wrong Finish Or Sealer
The finish protects your floors, and selecting the wrong one can lead to durability issues. Common mistakes include:
- Using oil-based finishes in humid environments, which can cause cloudiness and slow drying times.
- Not applying enough coats for long-term protection, leading to premature wear.
- Choosing a high-gloss finish that highlights imperfections rather than a satin or matte option.
- Selecting a finish that is not appropriate for the type of wood being refinished.
Choosing the right finish is essential to the longevity and aesthetic of your floors.
7. Applying Finish Too Thick Or Too Thin
A poorly applied finish can ruin the look of your floors. To avoid issues with tile floor refinishing ME, apply thin, even coats rather than one thick coat, which can lead to bubbling and peeling. Allow each coat to dry completely before applying another. Lightly sand between coats for a smooth finish that enhances durability. Use a high-quality applicator, such as a lambswool or microfiber pad, for even distribution. A well-applied finish protects the floor from scratches, stains, and wear over time. A well-applied finish protects the floor from scratches, stains, and wear over time.
8. Ignoring Temperature And Humidity Levels
Environmental factors affect the refinishing process. Avoid:
- Refinishing in extreme temperatures, which can impact drying and curing times.
- Ignoring humidity levels, which can cause the wood to swell or shrink, leading to warping.
- Applying finish in direct sunlight, which can cause uneven drying and discoloration.
Keeping the right conditions helps the refinishing process go well and makes the results last.
9. Not Testing Stains And Finishes First
Many DIYers regret their color choice after applying it to the entire floor. Always:
- Test the stain on a small, inconspicuous area.
- Let the sample fully dry to see the true color before committing.
- Adjust the color by mixing stains if necessary before applying it to the entire floor.
- Consider how lighting in the room will affect the final appearance.
A small test can save a lot of frustration and ensure the final color meets expectations.
10. Failing To Protect The Floor After Refinishing
After all the hard work, protecting the refinished floor is crucial. Be sure to:
- Wait the recommended time before moving furniture back in.
- Use felt pads on furniture legs to prevent scratches and scuff marks.
- Place area rugs in high-traffic zones to reduce wear and tear.
- Clean with gentle, non-abrasive products to maintain the finish.
- Avoid wearing shoes with hard soles or high heels on newly refinished floors.
Proper maintenance extends the life of your refinished floors and keeps them looking new for longer.
When To Hire Professional Floor Care Services ME
While DIY refinishing can be rewarding, it doesn’t always go as planned. If you want to ensure a long-lasting, high-quality finish, hiring professional floor polishing ME can be a game-changer. Pros have the right tools, skills, and experience to tackle tough refinishing jobs quickly. They can:
- Repair deep scratches, gouges, or warped boards.
- Use high-quality, commercial-grade finishes for extended durability.
- Ensure even staining and a smooth finish without imperfections.
- Save time and effort by delivering a flawless result.
If you’re uncertain about any step in the refinishing process, professional help is always a reliable option.
Avoid Mistakes For Long-Lasting, Professional Results
DIY floor refinishing can save money, but it requires careful planning and execution. Avoid these common mistakes to get professional results and make your floors last longer. If you’re not sure about doing the project yourself, think about hiring floor maintenance services. This can help you avoid expensive repairs later. A beautifully refinished floor enhances your home’s aesthetics and adds long-term value.


Leave a Reply